Intro
End caps are one of the things I prefer to buy rather than make, but sometimes you HAVE to make them (color, texture or shape needs to match the rest of your necklace.)
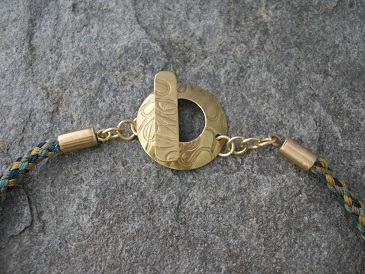
This was the case with the necklace I made last week, I had silver end caps and copper end caps but nooo... brass end caps.
So had to get out the brass tubing, sheet and wire and get to work!
Materials
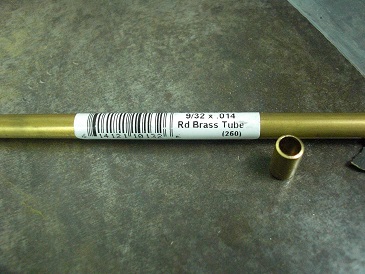
Metal tubing in appropriated size
Metal sheet 22-24 gauge
Metal wire 16-18 gauge
Tools & supplies
Permanent marker
Ruler
Tube cutter
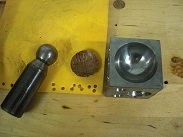
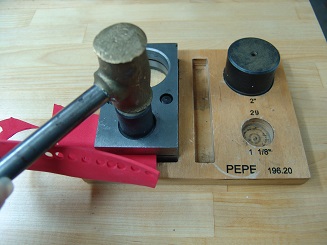
Disk cutter
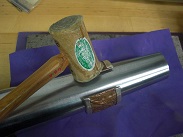
Brass hammer
file
Flat nose pliers
Jeweler’s saw
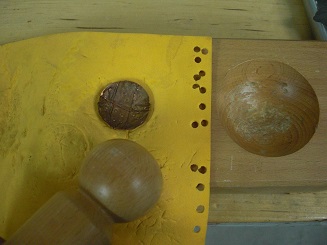
Wooden dowel
Chopstick
Soldering station
Soft fire brick
Third hand
solder
Instructions:
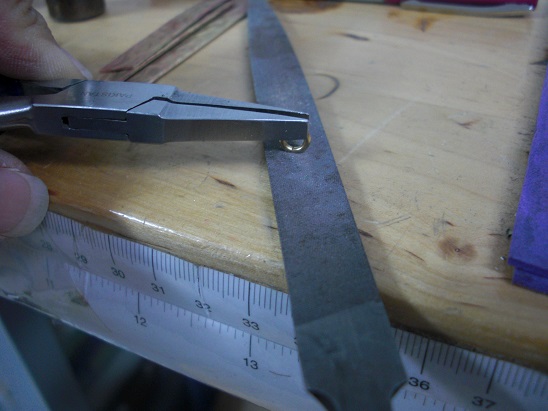
Get the appropriate diameter tubing. Measure and mark the size of end caps you need.
Cut the tubing with a tube cutter or jeweler’s saw.
Sand both ends flat and free of burs.
Cut the two circular top pieces, I used a disk cutter with the appropriated size.
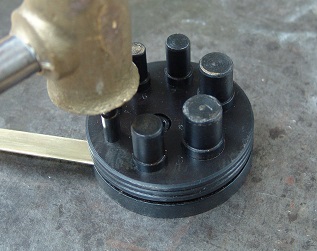
Cut the rings.
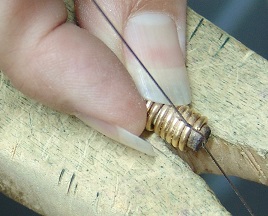
Sand the ring flat on the cut side.
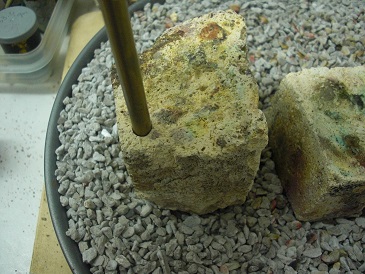
Make a hole in a piece of soft firebrick with the tubing.
Dip the cut piece of tubing, circle and ring in the flux.
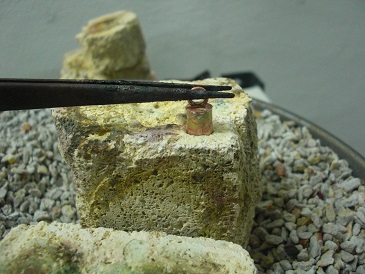
Put the circle on the soft brick, place some hard solder on the edges and carefully place the cylinder on top.
Turn on your torch and solder, quench and pickle.
Dip in the flux again and place on the hole in the brick.
Put a small piece of soft solder in the center of the end cap.
Center the ring with the third hand on top of the solder.
Solder.
Be careful the ring is small and heats really fast, keep the flame of the torch moving around the whole piece, the moment you see the solder flash silver take away the flame.
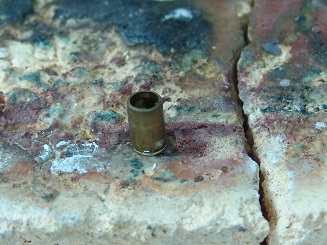
Quench, pickle and dry.
Sand the little buggers.
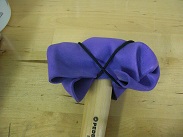
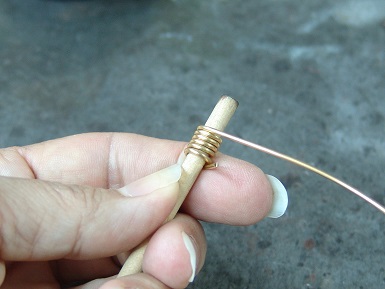
When working with small cylindrical end caps, it is easier to sand and polish them by hand.
Cut off the end of a chopstick, press down the end cap on to the chopstick cut end so it’s a tight fit.
Now it will be easier to sand and polish by hand.
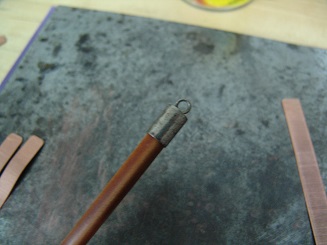
TIP: If you try to sand and polish with a Dremel tool, the cap will fly off to never be found again.
So on that note, save time, when cutting small rings, tubing for rivets, and other small stuff, if it falls to the floor and you do not see it in the next 2 minutes, forget it, is faster to cut a new one.
The finished necklace with the matching brass end caps.

This post is available in PDF FORMAT for downloding. CLICK HERE
- Register in my Newsletter to receive updates of new tutorials, Tips and Discounts REGISTER HERE