You have no items in your shopping cart.
Metalwork Jewelry Tutorials
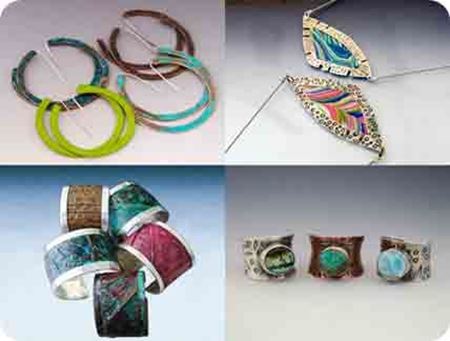
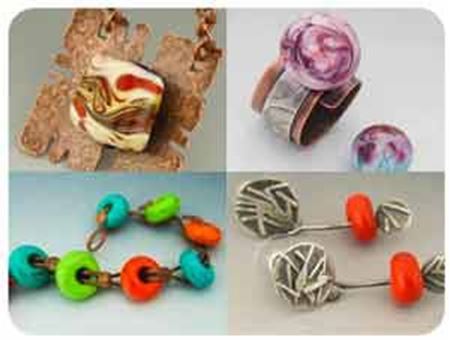
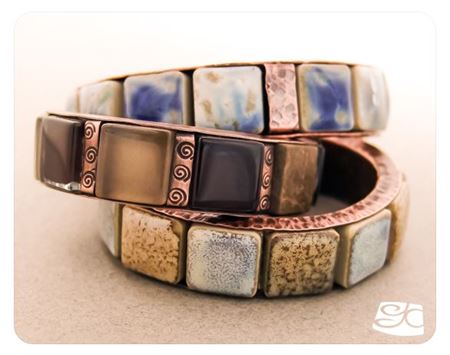
Learn how to make your own one-of-a-kind artisan jewelry using metalworking techniques. These DIY jewelry projects are easy and fun to make. Try one today!
Each tutorial has step-by-step photos of the process, life size templates and lots of tip to help you in the making of your unique jewelry piece.
The tutorials are all in PDF format ready for instant digital downloading.
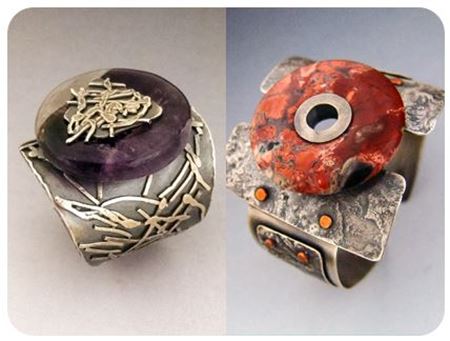
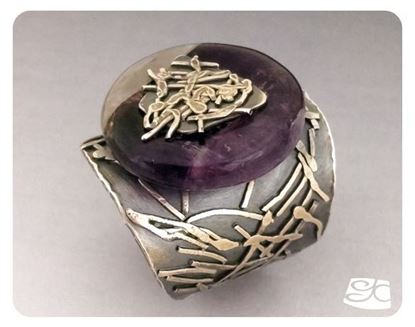
Amethyst Donut Fused Sterling Silver Ring DIY PDF Tutorial
Gemstone donuts are beautiful and always catch you eye at bead
shows. But, when you get home, you don’t know what to do with
them, so they get stashed in a box or drawer for “later”.
This project incorporates one of these smaller donuts into a simple,
but dramatic piece of jewelry.
Fused silver has a very attractive organic, one-of-a-kind look, making
it the perfect element for a unique piece of jewelry.
If you have not tried fusion before, this is a small project perfect to try
your hand at without risking a lot of material.
The tutorial is an instant downloading PDF file, it has 8 pages, 18 photos, a life size template of all the components and plenty of tips!
For intermediate skill students.
$9.95
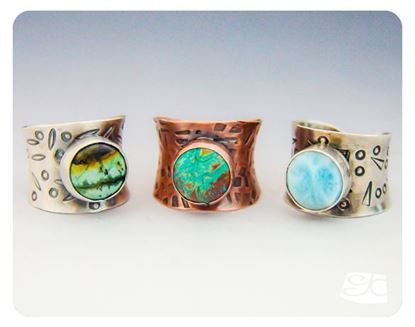
Anticlastic Sterling Silver Ring DIY Tutorial
An anticlastic shape is one that curves around two axes, the best example of this shape is the surface of a saddle. Anticlastic shapes are structurally rigid but light weighed pieces, making them ideal for jewelry making.
This project will introduce you to anticlastic raising, which tools you need and how to use them to shape a beautiful one-of-a-kind ring.
The wide adjustable band of the ring shank is perfect for stamping or hammering lots of texture!
You can make the ring in Silver or copper, copper looks special good with green stones.
The use of a calibrated stone and pre-made commercial bezel cup makes this a good beginner’s soldering project.
This was a best selling metalworking class at the Bead & Button show.
The small anticlastic stake and mallet combo, the soldering locking head & shank tweezers, calibrated cabochons & bezel cups used in this tutorial are available for purchase in the tools & materials area of the website.
This tutorial is an instant downloading PDF file. it is 8 pages long and has 19 photos.
$14.95
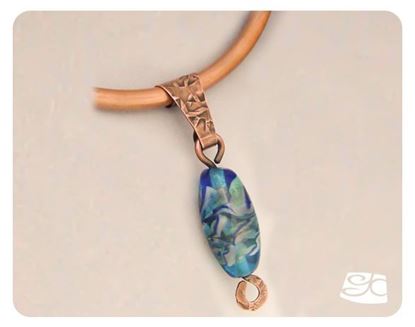
Curl Bail Pendant I DIY Tutorial
This is the first of a set of simple pendants that involve no soldering.
This particular setting is a curled-over bail that lets you exchange the
pendant piece.
You can mount a variety of beads on these heavy gauge head pins to
use with the same bail.
The tutorial is an instant downloading PDF file, it has 5 pages, 13 photos, a life size template of all the components and plenty of tips! For beginner skill students.
$9.95
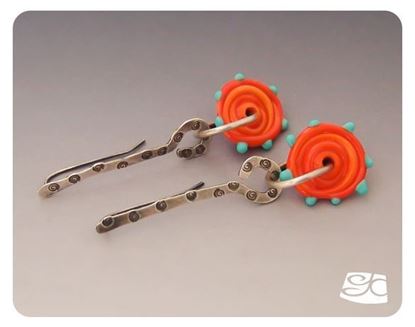
Forged and Stamped Component Earrings DIY Tutorial
Stamping offers an infinite array of options to decorate metal. You can buy or make your own stamps.
This is a simple project that involves shaping, forging and stamping wire to make a keyhole component.
These components are very versatile, they can be combined to make charms, chains and other decorative elements for earrings and bracelets.
This tutorial is an instant downloading PDF file, it has 7 pages, 16 photos, a template and plenty of tips. The tutorial is for beginners and intermediate students.
$9.95
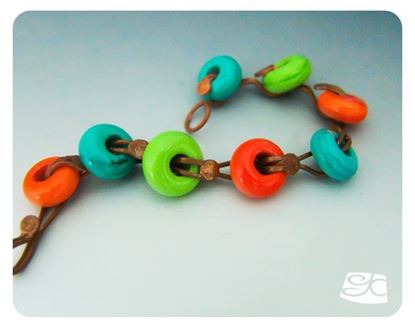
Loop Head Pin Bracelet DIY Tutorial
After making many beads on regular mandrels, most bead makers
want to try making beads with larger holes.
These beads can fit onto the popular cable bracelets on the market.
They can also be used to make pendants or toggle clasps.
Here we will be making a simple linked bracelet to showcase your
large hole beads.
The tutorial is an instant downloading PDF file, it has 5 pages, 13 photos, a life size template of all the components and plenty of tips! For beginner skill students.
$9.95
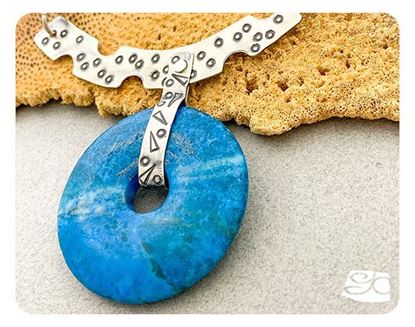
No-solder Riveted Bail Gemstone Donut Necklace DIY PDF Digital Tutorial
This necklace is a simple and striking way to display a large gemstone
donut. Using only “cold connections” like rivets, staple and
crimps we will make a unique sterling silver two-piece riveted bail,
with a hand stamped design.
The silver bail can be customized by using different stamps or texture
hammers on the metal. Changing the shape of the cutouts
along the edge for other shapes as triangles or ovals, can also make
each pendant unique.
$9.95
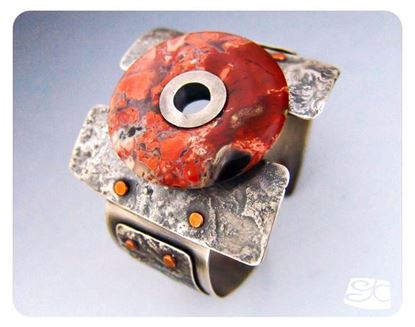
Reticulated Silver Cuff with Natural Stone Donut Focal DIY PDF Tutorial
This project is about using a large gemstone donut as the focal piece
of a cuff bracelet.
Reticulation on silver is a process that results in a heavily textured
metal sheet.
This method produces one-of-a-kind pieces, that are very dramatic and organic
looking.
The tutorial is an instant downloading PDF file, it has 10 pages, 27 photos, a life size template of all the components and plenty of tips!
Includes two mini tutorials.
For intermediate skill students.
$14.95
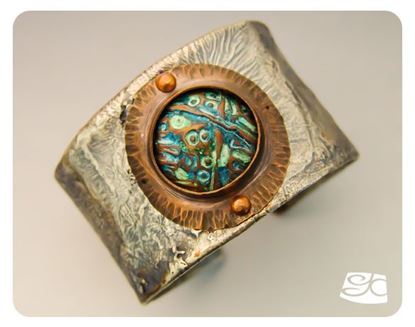
Reticulated Silver Over Copper Cuff DIY Tutorial
Reticulated silver over copper cuff with foldformed cabochon.
Reticulation is a process in which silver is made to buckle in to ridges and valleys adding a very interesting and strong surface texture to the metal. This method produces one-of-a-kind pieces, very dramatic and organic looking.
Foldforming, a relatively new way of manipulating metal is another technique that gives a very interesting surface to metal.
Our cuff will have as a focal piece a foldformed cabochon, treated with chemical patinas to achieve a deep rich blue-green color.
The cabochon will be attached with a riveted setting onto the reticulated cuff.
This is a perfect project to recycle all your sterling silver scraps cutouts.
This is a project for the intermediate to advanced student.
It requires the use of an acetylene torch with a big tip.
The tutorial is an instant downloading PDF file, it has 18 pages, 59 photos and plenty of tips!
$24.95
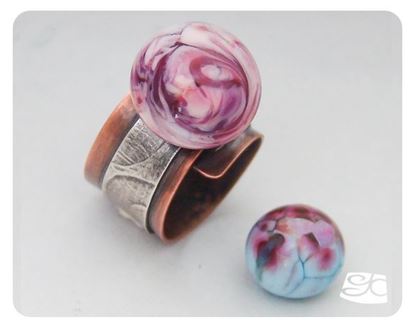
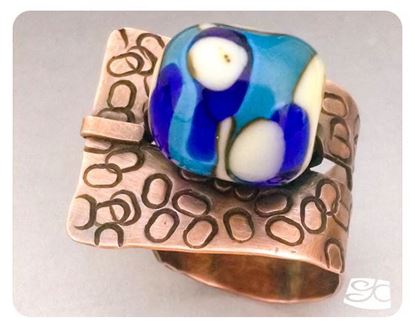
Screw-on Interchangeable Cabochon Ring DIY Tutorial
Nothing beats a piece of jewelry that has interchangeable parts! And if you are the one making the parts, even better! You can make as many different ones as you want: change the shape, choose the colors of the piece to match your wardrobe. The possibilities are endless!
This tutorial is an instant downloading PDF file, it has 8 pages, 24 photos, a template and plenty of tips. The tutorial is for intermediate and advance students.
$19.95
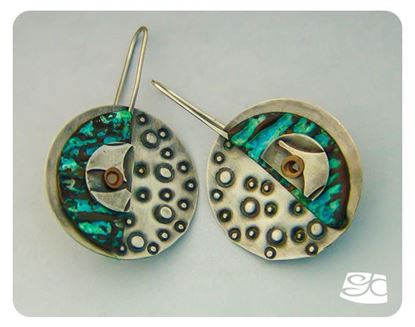
Silver And Corrugated Copper Earrings DIY Tutorial
Tear Sterling silver and corrugated copper earrings
Corrugation is a method of producing parallel pleats onto a flat sheet of material, in our case sheet metal.
The deep texture of corrugated metal ads a great deal of visual interest to a piece of jewelry.
Those deep pleated folds are also very good at holding colored patinas to enhance the design even more.
This tutorial is an instant downloading PDF file, it has 13 pages and 43 photos.
The tutorial is for beginner’s students with some soldering experience.
But it can be easily modified to be a solderless project.
$19.95
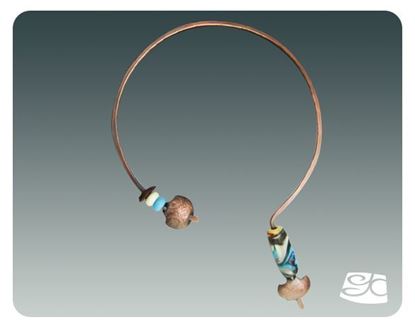
Simple Forged Neck Wire for Large Focal Bead DIY Tutorial
Large lampwork beads are time-consuming to make, but they offer the
maker a larger surface area to play with color combinations, frits, and
other decorations.
The best way to display these large beads is often something simple
that draws the eye to the focal point of the necklace: your beautiful
complex bead.
Forging large gauge wire is an easy way to make a sturdy choker to
display your one-of-a-kind focal bead.
The tutorial is an instant downloading PDF file, it has 9 pages, 19 photos, a life size template of all the components and plenty of tips! For beginner skill students.
$9.95
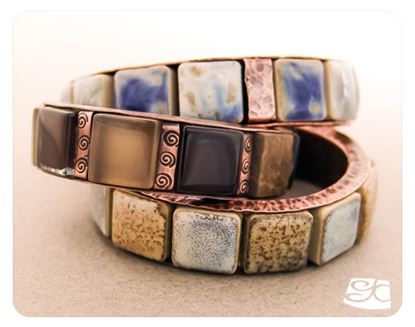
Tile cuff 1 DIY PDF Tutorial
This cuff bracelet was inspired by the inlay stone cuff bracelets made by the Native American Zuni tribe from the
New Mexico area.
The Zuni were lapidary masters. They did stone inlay on shell bases and later on in silver.
Inlay consists in bringing together multiple colored stones to form a design or pattern.
There are three major types of inlay: channel, mosaic or “stone to stone” inlay, cobblestone or raised inlay and
chip.The tutorial is an instant downloading PDF file, it has 10 pages, 24 photos, a life size template of all the components and plenty of tips! It comes with a Bonus Mini Tutorial to make your own mandrel. For beginner skill students.
$9.95
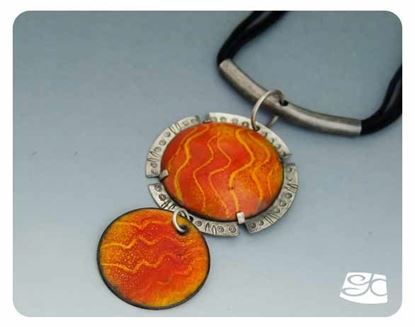
Torch Fired Pendant I DIY Tutorial
Sgraffito torch fired enamel:
“Sgraffito” Italian for “scratch through”, is exactly that, scratching a design trough a dry sifted coat of enamel, to reveal the previously fired color under it. This enameling method lets you “draw” any pattern with a pointed tool on the surface of your piece.
When the piece is fired a second time melting the dry sifted enamel, the pattern is revealed.
Tab setting is one of the easiest ways to secure a focal piece to a backing, there is no solder or heat involved, so its considered a “cold connection “ .
Tabs are prongs cut from the baking piece and then bent over to hold the enamel cabochon in place.
Included in the step-by step instruction you will find how to silver-plate your back plate for a different finish.
Master torch firing and tab setting wile fabricating a beautiful one-of-a-kind pendant with a tab-set Sgrafitto Torch Fired Cabochon and Dangle.
This tutorial is an instant downloading PDF file. It has 12 pages, 40 photos and life size template of all the components.
For intermediate skill students (torch use experience recommended)
$19.95
Wrap around tab tile ring DIY PDF Tutorial
Tabs are small fingers of metal, cut into a jewelry piece that lets us attach objects that we don’t want to pierce or expose to heat. In other words, it is a “cold connection”. This project is a different take from the regular tabs.
The tutorial is an instant downloading PDF file, it has 9 pages, 24 photos, a life size template of all the components and plenty of tips! It comes with a Bonus variant. For beginner skill students.
$9.95
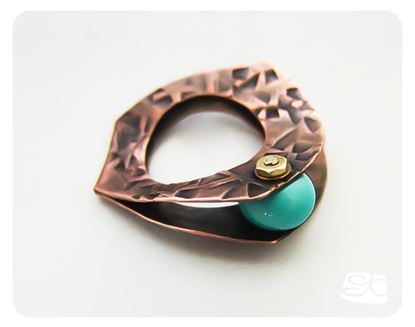
"Clam" Ring DIY Tutorial
Another simple ring that will let us explore the use of another cold connection: the screw & nut.
For the texture on this ring I used a hammer with a hand carved face.
Making your own tools is another way to individualize your jewelry, and make truly one-of-a-kind pieces.
To carve the face of the hammer you only need a metal cutting wheel on your rotary tool and a bench vise.
This tutorial is an instant downloading PDF file, it has 6 pages, 15 photos, a template and plenty of tips. The tutorial is for beginners and intermediate students.
$9.95
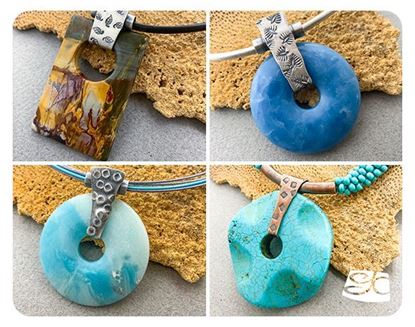
4 Bails For Large Gemstone Donuts DIY PDF Digital Tutorial
Here are four striking bails using the same design principle to accommodate
your large gemstone donuts.
The design is simple with only one soldered joint, making it a good
project for beginner solders.
The bails can be used for rectangular, square or round donuts.
Three of the bails are soldered pieces and one a no-solder project.
The bails can be made in sterling silver, copper, brass or bronze.
You can customize the design further, by using your own stamps or
texture hammers on the metal.
The tubes at the back of the bails are big enough to accommodate
most chains, large gauge neck wires, multi-strand cable necklaces
or smaller bead necklaces.
They can also be used in conjunction with silk cords, ribbons,
beaded Kumihimo cords or larger bead strands.
Go look for those forgotten large gemstone donuts in your bead
boxes and make some awesome pendants today!
$14.95
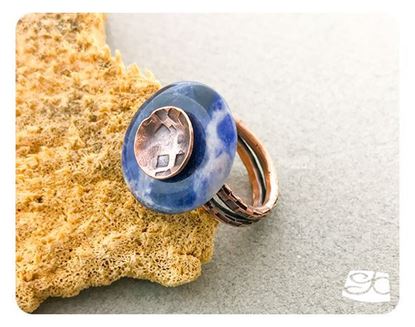
Adjustable Gemstone Donut Ring DIY PDF Digital Tutorial
Rings are perfect to display small gemstone donuts.
This project is a simple take on an adjustable wrap-around
shank.
It can be made in copper, brass or silver, with any colored stone
donut.
The small domed cup on the center can be changed to a square,
triangle or oval.
The texture on the cup and shank can be stamped, rolled milled
or hammered.
This means that your ring will always be a unique piece of art
jewelry.
$9.95
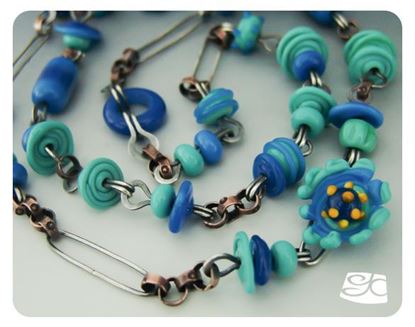
Chain I: Blue DIY Tutorial
Turquoise and blue is one of my favorite color combos.
Since I have lots of beads in this color palette, they were perfect for a
long chain. I got to use 37 of my beads.
A large amount of silver went into the making of the links. Feel free to
use copper instead of silver for the larger ovals and bead links.
This necklace is 104 cm long (43”) and can easily be worn double with
the use of an “S” clasp.
The mix of different shaped beads draws the eye to go all the way
around the necklace.
The tutorial is an instant downloading PDF file, it has 9 pages, 25 photos, a life size template of all the components and plenty of tips! For beginner skill students.
$14.95
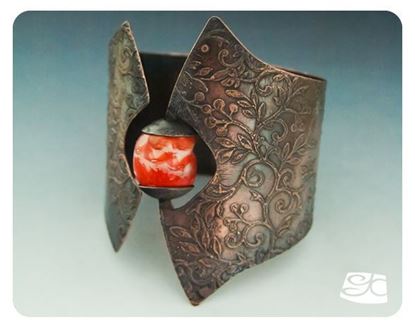
Etched Cuff with Bead DIY Tutorial
Etching is a process in which a metal is exposed to a corrosive solution
that eats away the surface of the metal. If a design is made on the
surface of the metal with a material that is impervious to the corroding
action, the design will be in relief over the corroded surface not protected
by the “resist”.
The most commonly used etching chemical for steel, copper and brass
is ferric chloride.
The tutorial is an instant downloading PDF file, it has 6 pages, 14 photos, a life size template of all the components and plenty of tips! For beginner skill students.
$9.95
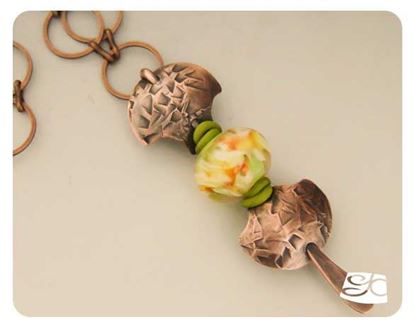
Fan Bail, Pendant II DIY Tutorial
Another very simple, easy no-solder pendant.
This is a project for those not so big beads that came out amazing and
you want to use as focal elements.
The fan shape gives the pendant an oriental feel.
It can be used on a long chain as seen in the photo, or it can be worn
on a neck wire closer to the face.
The tutorial is an instant downloading PDF file, it has 5 pages, 15 photos, a life size template of all the components and plenty of tips! For beginner skill students.
$9.95
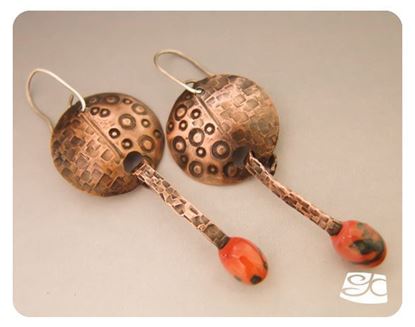
Large Forged Head Pin and Domed Earrings DIY Tutorial
Head pins are very versatile jewelry making elements. They can be used to connect pieces, thread beads and attach elements.
For our head pins I added a twist: making them with a thicker gauge than regular head pins. I forged and stamped the wire before winding the glass around the tip.
Doming is a way of shaping metal that gives volume to a at sheet of material. In this case we will be doming a textured disk into a shallow bowl.
This tutorial is an instant downloading PDF file, it has 8 pages, 24 photos, a template and plenty of tips. The tutorial is for beginners and intermediate students.
$14.95
Shaped Silver Pendant And Earrings DIY Tutorial
Foldforming is a technique that lets you turn a flat sheet of metal into a three dimensional object.
This way of manipulating sheet metal can also add a lot of texture to it.
In this tutorial we will fold a piece of metal sheet many times to give it a eye catching texture.
We will add to this texture with stamped designs intermixed with the folds.
Once finished with the textured metal sheet we will cut out and shape a pair of round cabochons and a tear-shaped one.
The cabochons will then be framed in sterling silver using a combination bezel-tab setting for a spectacular set of earrings and pendant.
The step-by-step instructions includes how to apply and preserve colored patinas for a different look on the copper cabochons.
This tutorial is an instant downloading PDF file. It has 16 pages, 54 photos and life size template of all the components. For intermediate skill students.
$24.95
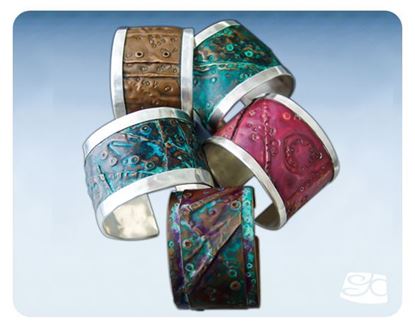
Sterling Silver Cuff DIY Tutorial
Sterling silver cuff with foldformed insert & patina application
Make a unique bold sterling silver cuff with a rich colored patina fold- formed insert.
The tutorial is an instant downloading PDF file, it has 7 pages, 19 photos, a template and plenty of tips!
$19.95
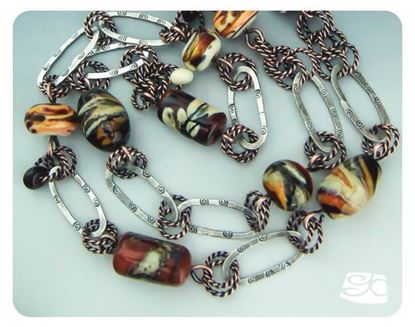
Chain II: Earth Tone Orphans DIY Tutorial
I had a collection of earth-tone “one-of-a-kind” beads, better known
as the ”orphans”.
Each of the beads has some interesting detail that I loved and could
not bear to part with.
I always had the idea of using all of the beads together in a long chain
necklace.
As the beads were big, the chain links had to be big too.
The organic shapes of the forged and stamped thicker gauge oval links, in
sterling silver, went well with the large beads.
The twisted copper wire jump rings added color and textural interest
to the metal components of the chain.
The tutorial is an instant downloading PDF file, it has 6 pages, 18 photos, a life size template of all the components and plenty of tips! For beginner skill students.
$9.95

